
Key Takeaways
- Isolate your variables: Only change one parameter (usually grind size) at a time to avoid chasing your tail.
- Use a 1:2 ratio as your starting point: Target 36 grams of liquid espresso from 18 grams of dry coffee in 25 to 30 seconds.
- Lock in your temperature and dose: Keep your basket dose and water temperature constant while adjusting the grind.
- Taste is the ultimate guide: Use extraction time as a diagnostic tool, but let sourness, bitterness, and sweetness dictate your final adjustments.
Dialing in espresso step by step means adjusting your grind size, dose, and yield to extract the most balanced, flavorful shot of coffee from your specific beans. By systematically controlling these variables, you move your extraction out of the sour or bitter zones and into a sweet, balanced sweet spot. This process is the foundation of high-end home espresso prep, transforming inconsistent runs into cafe-quality extractions.
The Golden Rules of Dialing In
Before purging your grinder or pulling a single shot, you must establish a baseline. The biggest mistake home baristas make is changing three things at once. If you change your grind size, your dose weight, and your water temperature simultaneously, you will never achieve consistency.
Keep the Input Dose Constant
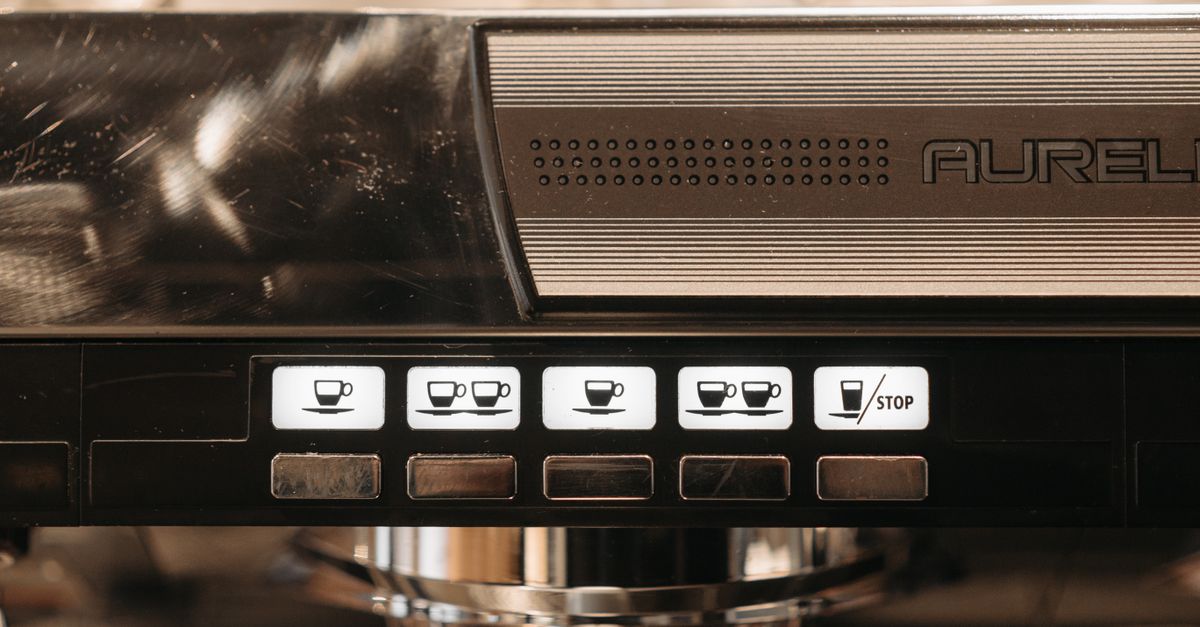
Choose a dry dose that fits your filter basket. If you are using a standard 18-gram precision basket (like a VST or IMS), stick to exactly 18.0 grams. Use a scale that reads to 0.1 grams to ensure absolute precision every single time.
Change Only One Variable at a Time
Treat your espresso setup like a laboratory. When adjusting your shots, keep your dose and your water temperature locked. Only adjust your grind size or your total liquid output (yield) to alter the flavor profile.
Step 1: Establish Your Baseline Parameters
To begin, we need a reliable starting point. For modern medium-to-light specialty roasts popular in US and European cafes, a 1:2 brew ratio is the industry standard starting line.
- Dry Dose (Input): 18 grams
- Liquid Espresso (Yield): 36 grams
- Target Time: 25 to 30 seconds
- Brew Temperature: 93°C (200°F)
Using a scale under your cup is non-negotiable for this step. Volumetric brewing (by sight or liquid volume) is highly inaccurate because crema volume changes daily as roasted beans age and release carbon dioxide.

Step 2: Prep Your Puck with Precision
Channelling—where water finds a path of least resistance through the coffee puck—will ruin your diagnostics. If your puck prep is inconsistent, a bad-tasting shot might just be a channeling error rather than a grind size issue.
Use a Weiss Distribution Technique (WDT) tool with fine needles (0.3mm to 0.4mm) to break up clumps in your portafilter. Distribute the grinds evenly before tamping flat. Ensure your tamp is level and fully compressed; you cannot over-tamp by hand, but an uneven tamp will cause uneven extraction.
The secret to consistent dialing is realizing that your scale is far more important than your timer.
Step 3: Pull Your First Shot and Analyze
Start your timer the moment you engage the pump on your espresso machine. Watch the scale under your cup. Stop the shot the moment you hit your target yield of 36 grams of liquid espresso.
Analyzing the Time Variable
How long did it take to reach 36 grams? Use these three scenarios to determine your next move:
- Under 20 seconds (Too Fast): The water rushed through the puck too quickly. The grind is too coarse. Go finer.
- Over 35 seconds (Too Slow): The water struggled to pass through. The grind is too fine. Go coarser.
- Between 25 and 30 seconds: You are in the ballpark. Now it is time to taste.

Step 4: The Taste Test and Micro-Adjustments
Do not drink the shot immediately. Stir your espresso with a spoon to incorporate the layers, then take a sip. Your palate will tell you exactly how to adjust the grind size to achieve balance.
If the shot tastes sour, sharp, or salty, it is under-extracted. The water did not extract enough sweet compounds. To fix this, grind slightly finer to slow down the water and increase extraction.
If the shot tastes bitter, dry, or hollow (like ash or dark chocolate), it is over-extracted. The water extracted too many heavy, bitter compounds. To fix this, grind slightly coarser to speed up the shot and reduce extraction.
Step 5: Master the Yield Adjustment
Sometimes, adjusting the grind size is not enough, especially with challenging light roasts from origins like Ethiopia or Kenya. This is where adjusting your brew ratio (yield) comes into play.
Adjusting Ratio for Light Roasts
Light roasts are less soluble than dark roasts. If a 1:2 ratio tastes sour even at a fine grind, increase your yield to 1:2.5 (18g dry to 45g liquid). The extra water will extract more sugars and balance the bright acidity.
Adjusting Ratio for Dark Roasts
Dark roasts are highly soluble and can easily taste bitter. If your 1:2 ratio tastes harsh, restrict your yield to a 1:1.5 ratio (18g dry to 27g liquid). This limits the extraction of bitter compounds, leaving you with a rich, syrupy ristretto.
The Bottom Line
Dialing in espresso is a systematic process of elimination, not guesswork. Lock in your dry dose, aim for a 1:2 ratio, and use your grind size to steer the extraction time into the 25-to-30-second window before fine-tuning for taste. Once you master this step-by-step workflow, you can confidently dial in any coffee bean on any home setup.
Frequently Asked Questions
Why does my espresso taste sour even though it took 30 seconds to pull?
This is common with light roasts or under-extracted shots. Try increasing your brew temperature by 1-2 degrees, or increase your yield to 1:2.2 (approx. 40g liquid out) to extract more sweetness.
Do I need to dial in again when my coffee beans get older?
Yes. As roasted coffee beans age, they lose carbon dioxide and moisture. You will generally need to grind finer as the beans get older to maintain the same extraction time and flow rate.
How much should I change my grind size setting when adjusting?
Make micro-adjustments. On a stepped grinder, change by one notch. On a stepless grinder (like a Eureka Mignon or Niche Zero), move the collar in increments of half a mark or less.


