
Key Takeaways
- The Golden Ratio: Start with a 1:2 brewing ratio (e.g., 18g in, 36g out) in 25 to 30 seconds as your baseline.
- Change One Variable: Only adjust one parameter at a time—usually grind size—to avoid chasing your tail.
- Use Taste as your Guide: Sourness means under-extraction (grind finer); bitterness means over-extraction (grind coarser).
- Eliminate Channeling: Proper puck preparation with a WDT tool is non-negotiable for consistent data points.
Setting up your home espresso machine is only the first step of your specialty coffee journey. To unlock the vibrant sweetness, complex acidity, and rich body of your beans, you must learn how to manipulate the variables of extraction. This guide will walk you through the precise, repeatable process of dialing in your espresso shots every morning.
Understanding the Core Variables of Espresso Extraction
Espresso extraction is the process of dissolving soluble compounds from coffee grounds using hot, pressurized water. To control this process, you must measure and manage three primary variables: dose, yield, and time. Changing any of these elements will drastically alter the flavor profile of your cup.
Dose: Your Starting Material
The dose is the weight of dry coffee grounds in your portafilter basket. For modern double baskets, this is typically between 18 and 20 grams. You should choose a dose that fits your basket size (within +/- 0.5 grams) and keep it locked constant while adjusting other variables.
Yield: The Liquid Output
The yield is the weight of the brewed espresso in your cup, measured in grams using a digital scale. We express the relationship between dose and yield as a ratio. A 1:2 ratio (18g dose to 36g yield) is the traditional starting point for modern espresso.
Time: The Contact Duration
Time represents how long the water is in contact with the coffee puck under pressure. We measure this from the moment you turn on the pump to the moment you stop the shot. Most balanced extractions occur within a window of 25 to 35 seconds.
The Essential Gear Required for Accurate Calibration
You cannot dial in espresso by eyesight or volumetric estimation. To achieve repeatable, cafe-quality results at home, your setup needs a few precision tools. Without these, you are simply guessing at the variables.
- A Precise Coffee Scale: You need a scale that reads to 0.1 grams, fits on your drip tray, and has a built-in timer (such as an Acaia Lunar or a Timemore Black Mirror).
- A Stepless Espresso Grinder: Stepless grinders allow you to make micro-adjustments to the grind size. Incremental stepped grinders often have steps that are too large, leaving your ideal grind size trapped between two clicks.
- A Distribution Tool (WDT): A Weiss Distribution Technique (WDT) tool using fine 0.35mm needles breaks up clumps and ensures an even puck density, preventing water from channeling.
- A Consistent Tamper: Use a self-leveling, spring-loaded tamper to eliminate uneven tamping as a variable in your extraction flow.

Step-by-Step: The Dial-in Protocol
Before you begin, ensure your espresso machine has reached its full thermal stability. Run a blank shot through your portafilter to heat up the group head. Choose a fresh bag of specialty coffee, ideally roasted between 7 and 21 days ago.
- Establish your recipe targets: We will use a standard baseline of an 18.0g dose, a 36.0g yield, and a target extraction time of 28 seconds.
- Weigh and grind your dose: Purge a gram of coffee through your grinder to clear old stale grounds, then grind exactly 18.0g into your portafilter.
- Prepare the puck: Use your WDT tool in circular motions from the bottom of the basket up to the surface. Tamp straight down with firm, level pressure until the puck is fully compressed.
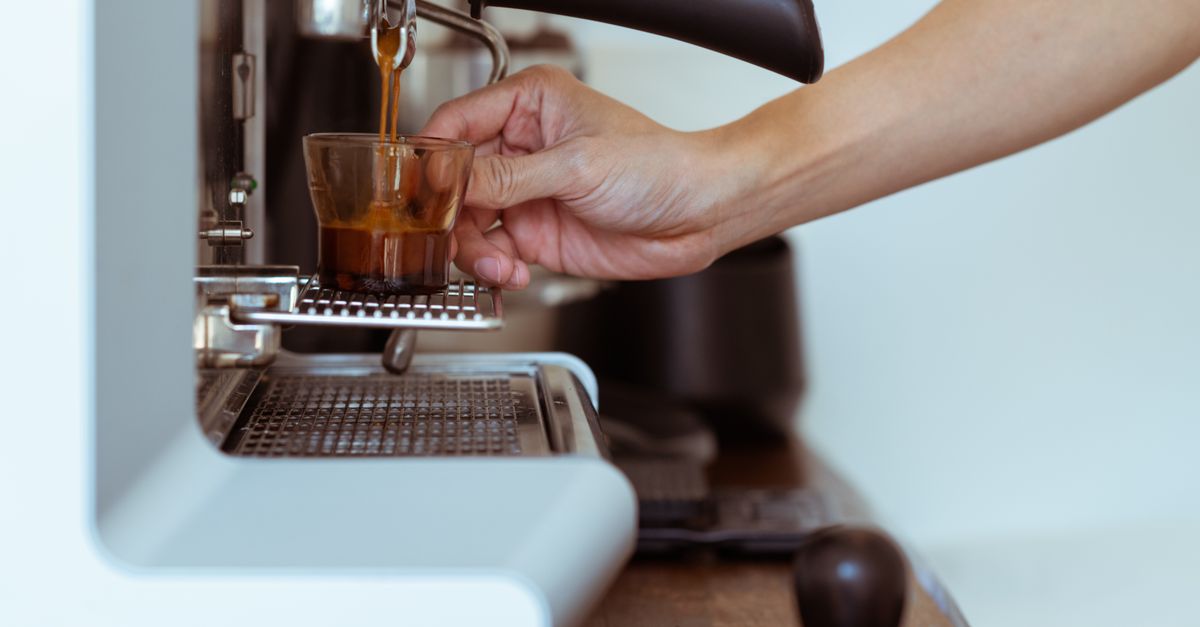
- Pull the shot on a scale: Tare your cup on the scale under the portafilter. Start your pump and your timer simultaneously. Stop the pump when the scale reads 36.0g.
- Record the time and taste: Note how many seconds it took to reach 36.0g, then stir the espresso thoroughly with a spoon before tasting.
"Stirring your espresso before tasting is crucial because the liquid extracts in distinct, stratified layers of varying density and flavor."
Diagnosing the Shot: How to Taste and Adjust
Now that you have your first data point, you must evaluate the flavor of the shot. Do not let the extraction time dictate your adjustments entirely; taste is the ultimate arbiter of quality. Use the guidelines below to diagnose your results.
Scenario A: The Shot Ran Too Fast (Under 20 Seconds)
If your shot finished in under 20 seconds, the water rushed through the puck too quickly. The espresso will likely taste thin, sour, salty, and lack a sweet finish. This indicates under-extraction because the water did not have enough time to pull out the sweet and bitter-sweet compounds.
The Fix: Adjust your grinder to a finer setting. This packs the coffee particles closer together, creating more resistance and slowing down the water flow. Purge your grinder after adjusting, then pull another shot.
Scenario B: The Shot Ran Too Slow (Over 40 Seconds)
If your shot took over 40 seconds, or merely dripped out slowly, the water met too much resistance. The espresso will likely taste bitter, dry, ashy, and hollow. This indicates over-extraction, where the water has dissolved the unpleasant, heavy compounds from the coffee plant fibers.
The Fix: Adjust your grinder to a coarser setting. This increases the spaces between the coffee particles, allowing the water to flow through the puck more easily and reducing the contact time.
Scenario C: The Shot is Within Time, But Tastes Sour or Bitter
Sometimes your shot hits the 36.0g target in exactly 28 seconds, yet the flavor is still unbalanced. If it is sour, you need to extract slightly more. If it is bitter, you need to extract slightly less.
The Fix: Instead of changing the grind size, adjust your yield. To fix sourness, increase your yield to 38g or 40g (extracting more). To fix bitterness, cut the shot shorter at 32g or 34g (extracting less).

Advanced Variables: Temperature and Pre-Infusion
If your espresso machine features Proportional-Integral-Derivative (PID) temperature control or manual flow profiling, you can fine-tune your extractions even further. Only adjust these settings once your grind size and ratio are in the correct ballpark.
Brew Temperature Adjustment
Water temperature changes how easily soluble compounds dissolve. Darker roasts are highly soluble and can easily taste bitter; lower your brew temperature to 90°C (194°F) to slow down extraction. Lighter roasts are dense and harder to extract; raise your temperature to 94°C–96°C (201°F–205°F) to maximize sweetness and acidity extraction.
The Power of Pre-Infusion
Pre-infusion introduces water to the coffee puck at low pressure (usually 1 to 3 bars) before ramp-up to full extraction pressure. This gently saturates the puck, reducing the risk of channeling and allowing you to grind finer than would otherwise be possible. A standard pre-infusion lasts between 5 and 10 seconds.
Common Dialing-In Pitfalls and How to Avoid Them
Even experienced home baristas fall into traps that waste expensive coffee beans. Keep these troubleshooting tips in mind to keep your calibration process efficient.
- Not Purging the Grinder: Many grinders retain 0.5g to 2.0g of coffee inside the grinding chamber. If you adjust your grind finer without purging, your next shot will contain a mixture of both grind sizes, giving you misleading results.
- Chasing "Dead" Beans: Coffee beans change as they age. If your beans were roasted three months ago, they have lost their internal carbon dioxide pressure. They will channel easily and taste flat, no matter how fine you grind.
- Tamping with Inconsistent Pressure: While you do not need to tamp with extreme force, your tamp must be fully compressed and perfectly level. An angled tamp causes water to flow to one side of the basket, resulting in uneven extraction.
The Bottom Line
Dialing in espresso is a logical, step-by-step process of elimination. By holding your dry dose constant, adjusting your grind size to hit a 1:2 ratio within 25 to 30 seconds, and using minor yield adjustments to fine-tune flavor, you can consistently extract sweet, balanced espresso from any specialty roast.
Frequently Asked Questions
How often do I need to dial in my espresso?
You should dial in every time you open a new bag of beans. Additionally, as your beans age in the hopper over several days, you will need to make minor micro-adjustments (usually grinding slightly finer) to compensate for the loss of moisture and CO2.
Why does my espresso shot time change from shot to shot?
Inconsistent shot times are usually caused by uneven puck preparation (channeling), temperature instability in your machine, or grinder retention. Focus on using a WDT tool to distribute the grounds evenly and always purge your grinder after making adjustments.
Does pump pressure affect how I dial in?
Yes. Traditional commercial machines run at 9 bars of pressure. However, many home machines come set to 12 or 15 bars from the factory, which can cause puck compression and severe channeling. Reducing your machine's pressure to 9 bars (or even 6 bars) often makes dialing in much easier.


