
Key Takeaways
- Water quality is non-negotiable: Scale ruins heating elements, and poor filtration destroys flavor. Use water with 50-150 ppm total dissolved solids (TDS).
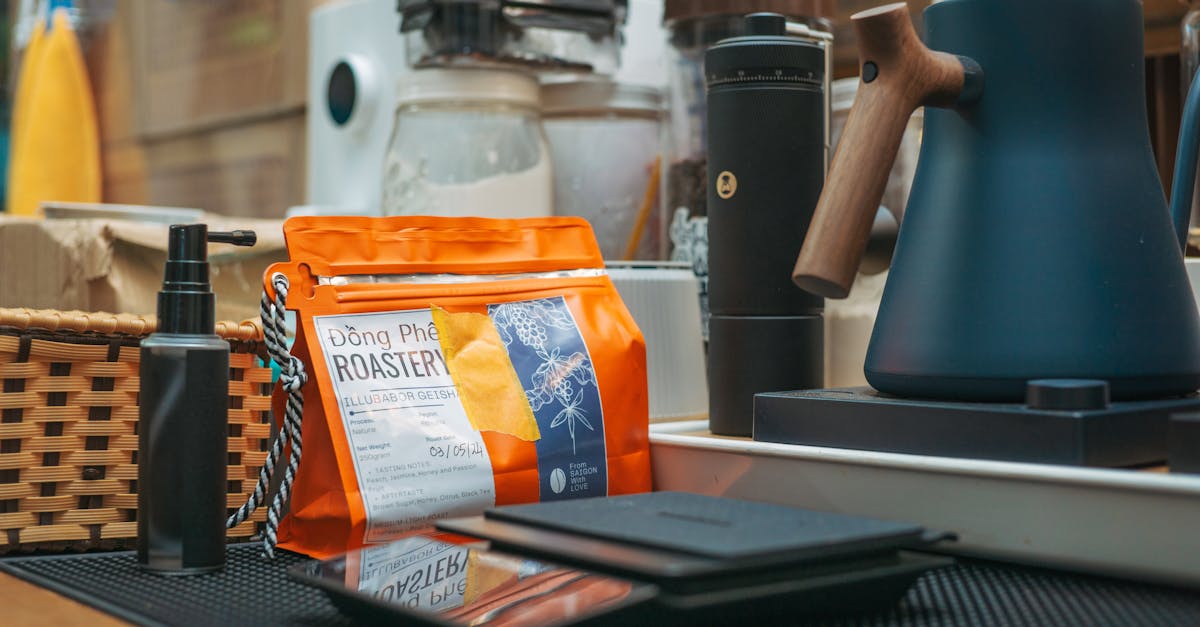
- Workflow dictates layout: Arrange your station from left to right (beans to knock box) to prevent clutter and spills.
- The grinder is your most critical asset: Budget at least 40% of your total setup cost for a high-quality, step-less burr grinder.
- Power and ventilation matter: Dual-boiler machines require dedicated power circuits and clearance for steam ventilation.
Bringing a commercial-grade espresso machine into your kitchen is a thrilling milestone for any coffee enthusiast. However, turning shiny stainless steel into a functional home cafe requires more than just plugging the machine into the nearest outlet. This comprehensive home espresso machine setup guide will walk you through planning your station, managing your water, and dialing in your very first shot.
1. Planning Your Home Espresso Station Workspace
Before unboxing your new machine, you must select the right location. Espresso machines are heavy, generate significant steam, and require a constant cycle of water and waste management. A poorly planned workspace leads to frustrating workflows and messy countertops.
Analyzing Countertop Space and Clearance
Measure your overhead cabinets before purchasing a machine. Many prosumer dual-boilers, like the La Marzocco Linea Micra or Profitec Drive, stand between 15 and 18 inches tall. However, you also need clearance to fill the water reservoir from the top, which can add another 4 to 6 inches of required height.
Ensure your countertop can support the weight. A dual-boiler machine filled with water can easily exceed 60 pounds (27 kg). Additionally, position your machine within three feet of a dedicated electrical outlet to avoid using unsafe extension cords.
Optimizing the Barista Workflow
A logical workflow moves in a single direction. For right-handed baristas, a left-to-right setup works best:
- Zone 1 (Far Left): Bean storage, scale, and dosing cups.
- Zone 2 (Left-Center): The espresso grinder.
- Zone 3 (Center): The espresso machine, tamping mat, and portafilter.
- Zone 4 (Right): The knock box, milk pitcher, and trash receptacle.
2. Water Chemistry: The Foundation of Great Espresso
Water makes up over 90% of your espresso shot, making water chemistry critical for both flavor extraction and machine longevity. Tap water in most of the US and Western Europe contains high levels of calcium and magnesium, which quickly form destructive limescale inside copper and stainless steel boilers.
The Ideal Water Specifications
According to the Specialty Coffee Association (SCA), your brewing water should meet these specific targets:
- Total Dissolved Solids (TDS): 75 to 150 ppm
- Total Hardness: 50 to 175 ppm CaCO3 (3 to 10 grains)
- Alkalinity: 40 to 80 ppm CaCO3
- pH Range: 6.5 to 8.0
Water Filtration Options for Home Baristas
Do not rely on standard refrigerator filters or basic carbon pitchers; they do not remove hardness minerals. Instead, use a dedicated espresso water solution.
For reservoir machines, use inline softening pouches like the BWT Bestave or mix your own water using distilled water and re-mineralization packets like Third Wave Water. If you plan to plumb your machine directly into your home water line, install a reverse osmosis (RO) system equipped with a remineralization cartridge and a pressure regulator set to 2-3 bar.
3. Essential Gear and Accessories for Your Setup
Your espresso machine is only as good as the accessories surrounding it. To achieve consistent, professional results, you must invest in a few non-negotiable tools that rarely come inside the machine's box.
"A world-class espresso machine paired with a mediocre grinder will produce disappointing coffee, but a world-class grinder can make even an entry-level machine sing."
The Espresso Grinder
Allocate a significant portion of your budget to a dedicated espresso grinder. Blade grinders and basic burr grinders designed for filter coffee cannot grind fine enough or adjust precisely enough for espresso. Look for step-less burr grinders with flat burrs, such as the Mazzer Philos, DF64 Gen 2, or Mahlkönig X54, which allow for micro-adjustments.
Precision Prep Tools
To prevent channeling and ensure even extraction, add these tools to your setup:
- Digital Scale: Accurate to 0.1 grams, thin enough to fit under your cup on the drip tray (e.g., Acaia Lunar or Timemore Black Mirror Nano).
- WDT Tool (Weiss Distribution Technique): A tool with 0.3mm to 0.4mm stainless steel needles to break up clumps in the coffee bed.
- Precision Tamper: A self-leveling, spring-loaded tamper (like the Force Tamper or Normcore V4) to ensure a perfectly level 30-pound tamp every time.
- Knock Box: A sturdy bin with a rubberized bar to safely empty your spent coffee pucks.
4. Electrical Requirements and Safe Plumbing Connection
Prosumer espresso machines draw significant power. In the US, most standard household outlets run on 120-volt, 15-amp circuits. If you purchase a powerful dual-boiler machine like the La Marzocco Linea Mini, you may need to run it in a limited-power mode, or have an electrician install a dedicated 20-amp circuit to power both boilers simultaneously.
In Western Europe, the standard 230-volt system easily handles the high wattage of dual-boiler machines without power management compromises. However, always ensure your kitchen outlets are grounded and protected by a Ground Fault Circuit Interrupter (GFCI) or Residual Current Device (RCD) to protect against electrical shock near water sources.

5. Step-by-Step Initial Startup and Boiler Priming
When you unbox a brand-new machine, the boilers are completely dry. Turning on the heating elements while the boilers are empty will burn out the heating elements within seconds. Follow this strict protocol during your very first startup:
- Inspect the machine: Check for any physical damage during transit and ensure all switches are in the "Off" position.
- Fill the reservoir: Fill the tank with your mineral-optimized water. If your machine is plumbed-in, open the water supply valve.
- Switch on the machine: Flip the power switch. You should immediately hear the rotary or vibratory pump engage. This is the machine filling the boilers.
- Prime the group head: If the pump does not stop after 60 seconds, turn the machine off to cool down, then restart. Once the pump stops, lift the brew lever or press the manual brew button to run water through the group head for 10 seconds to purge any trapped air.
- Allow the machine to heat: Let the machine sit for 20 to 30 minutes. The pressure gauges should stabilize around 1.0 to 1.5 bar for steam, and 9 bar for brewing when engaged.
6. Dialing In: Extracting Your First Shot
Once your machine is heated and pressurized, it is time to dial in your coffee beans. Dialing in is the process of adjusting your grind size to find the perfect extraction window. Use a standard 1:2 brewing ratio as your starting baseline.
The Golden Ratio Recipe
Weigh 18 grams of freshly roasted coffee beans into your portafilter basket. Your target is to extract exactly 36 grams of liquid espresso in a time window of 25 to 30 seconds.
Adjusting Based on Flow Rate
Lock your portafilter into the group head, place your scale and cup underneath, and start the shot along with a timer. Watch the flow rate and adjust your grinder accordingly:
- If the shot runs too fast (under 20 seconds): The coffee tasted sour and watery. Your grind is too coarse. Adjust your grinder to a finer setting.
- If the shot runs too slow (over 35 seconds or dripping): The coffee tasted bitter, dry, and burnt. Your grind is too fine. Adjust your grinder to a coarser setting.
- If the shot runs in 25 to 30 seconds: The espresso should taste balanced, sweet, and complex with a thick layer of crema. You have successfully dialed in.

The Bottom Line
Setting up your home espresso machine correctly from day one protects your investment and saves you hours of frustration. By focusing on water quality, keeping an organized workflow, and using a high-quality espresso grinder, you will quickly master the art of the perfect home extraction. Take your time during the initial setup, and enjoy the rewarding process of brewing cafe-quality espresso in your own kitchen.
Frequently Asked Questions
Can I use bottled spring water in my espresso machine?
Some bottled spring waters are safe, but many contain high mineral levels that cause scale. Check the bottle's label for TDS; aim for bottled water with a TDS between 50 and 100 ppm, such as Volvic or Crystal Geyser (from the Shasta source).
How often should I backflush my espresso machine?
Perform a plain water backflush at the end of every brewing session. Backflush with a dedicated espresso machine cleaner (like Urnex Cafiza) once every 1-2 weeks, depending on how many shots you pull daily.
Why does my espresso machine take 30 minutes to heat up?
Most prosumer machines use heavy brass group heads (like the classic E61 group) and large copper boilers. These metal components require time to absorb heat and reach thermal equilibrium, which is essential for temperature stability during brewing.
What is the difference between a single boiler and a dual boiler machine?
A single boiler machine uses one boiler for both brewing and steaming, requiring you to wait between pulling a shot and steaming milk. A dual boiler machine has separate boilers for each function, allowing you to brew and steam simultaneously with perfect temperature stability.


