
Key Takeaways
- Water quality is paramount: Protect your heating elements and improve extraction by using water filtered to 50–150 ppm total dissolved solids (TDS).
- The workflow triangle: Arrange your machine, grinder, and knock box from left-to-right (or right-to-left) to minimize mess and friction.
- Dedicate a power circuit: Dual-boiler machines draw high wattage; ensure your kitchen circuit can handle 15 to 20 amps without tripping.
- Budget for accessories: Allocate 20% of your total setup budget for a high-quality scale, a precision tamper, and a knock box.
Setting up a home espresso station requires strategic spatial planning, precise electrical considerations, and water chemistry management to achieve cafe-quality results. By organizing your workspace systematically and calibrating your equipment from day one, you avoid bitter extractions and premature machine wear. Here is how to transition your kitchen counter into a high-performance espresso bar.
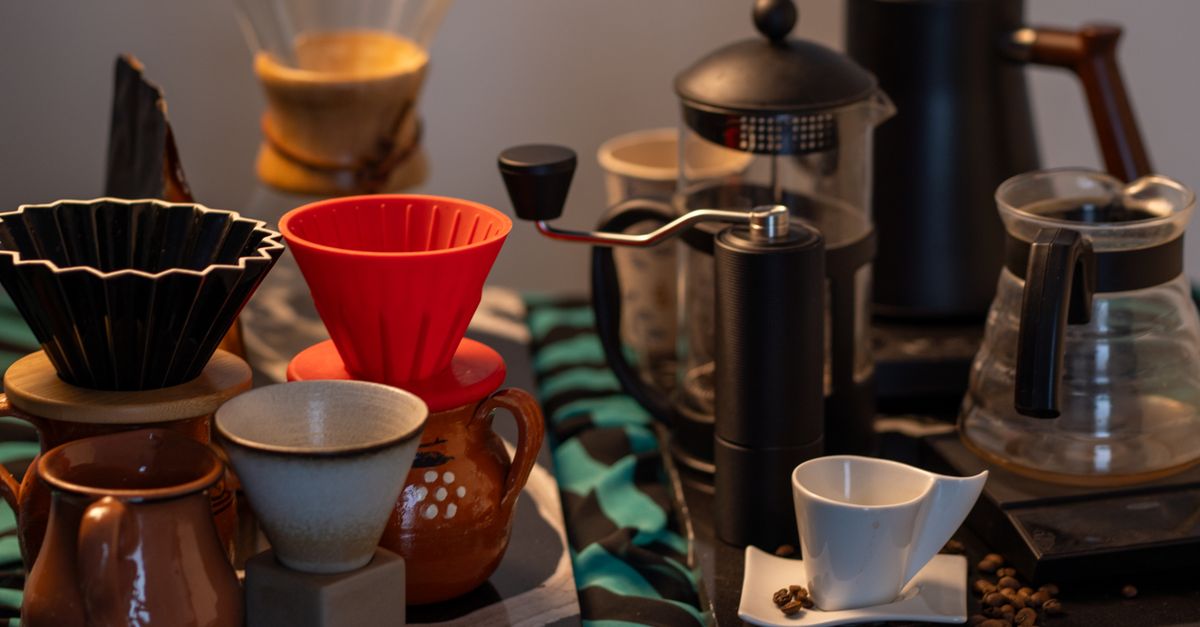
1. Designing Your Workflow and Workspace
An efficient espresso station mimics a commercial bar workflow on a smaller scale. You want to establish a linear movement pattern: bean storage to grinding, grinding to tamping, tamping to extraction, and extraction to cleanup.
The Left-to-Right Flow
Arrange your equipment in a logical sequence. Place your bean cellar or bag on the far left, followed by your grinder, your tamping mat, your espresso machine, and finally your knock box and trash bin on the far right. This layout keeps wet and dry zones separate, preventing coffee grounds from migrating into your clean cups.
Clearance and Dimensions
Measure your under-cabinet clearance before purchasing heavy gear. Standard US and European kitchen cabinets sit 18 inches (approx. 45 cm) above the countertop. A flagship dual-boiler machine like the La Marzocco Linea Micra or Rocket Appartamento often requires 15 to 16 inches of vertical space. Remember to leave an extra 3 to 4 inches of clearance if your machine is top-loading for water.
2. Power and Electrical Requirements
Espresso machines are thermodynamic workhorses that draw significant electrical currents to heat up brass, steel, and copper boilers quickly.
- Voltage Standards: In the US, most home machines run on standard 110-120V circuits. In Europe, they run on 220-240V, which allows boilers to heat up significantly faster.
- Amperage Demands: Professional-grade dual-boiler systems (like the Lelit Bianca) often draw up to 15 or 20 amps. Avoid sharing the same electrical circuit with other high-draw appliances like air fryers, toaster ovens, or microwaves.
- Surge Protection: High-end espresso machines contain sensitive PID digital controllers and electronic brain boards. Always plug your machine into a high-quality surge protector to guard against voltage spikes.

3. Water Quality: The Hidden Ingredient
Water accounts for roughly 98% of your shot of espresso. Poor water quality destroys your extraction profile and leads to rapid scale buildup, which is the leading cause of heating element failure in home espresso machines.
Do not use unfiltered tap water or simple carbon-filtered pitcher water. Your water should ideally have a neutral pH (~7.0), total hardness of 50–85 ppm, and a total dissolved solids (TDS) range of 90–150 ppm. Calcium and magnesium ions are necessary to bind with the flavor compounds in coffee, but too much calcium will precipitate out as scale when heated.
"Using scale-inhibiting, mineral-balanced water is the single most important decision you can make to extend the lifespan of your machine's boilers."
For plumbing-in, use a dedicated filtration cartridge like the BWT Bestmax Premium, which exchanges calcium for magnesium. If you are using a water reservoir, mix your own water using distilled water and re-mineralizing packets (like Third Wave Water), or use an active zero-water system bypass with a custom mineral recipe.
4. Grinder Placement and Calibration
Your grinder is actually more important than your espresso machine. Without an espresso-capable burr set that can make micro-adjustments, your machine will never build the backpressure required for proper extraction.
Isolate Grinder Vibrations
Place your grinder on a stable, heavy surface. High-speed single-dose grinders, such as the Mahlkönig X54 or the Niche Zero, generate physical vibrations that can travel across your countertop. Placing a dampening rubber mat under your grinder stabilizes the unit and dampens noise during early morning prep.
Burr Alignment and Seasoning
New steel burrs require a break-in period, often called "seasoning," to wear down microscopic manufacturing burrs and deliver a consistent grind size. Run 2 to 3 pounds of cheap, stale coffee beans through your new grinder before attempting to dial in your first bag of specialty coffee.
5. Essential Accessories for the Perfect Station
A machine and a grinder alone are not enough to pull consistent shots. You must invest in a few critical accessories to control your variables.
- Precision Scale (with Timer): Accuracy is non-negotiable. You need a scale that reads to 0.1 grams, such as the Acaia Lunar or Timemore Nano, to measure your dry dose input and liquid yield output in real time.
- 0.1g Precision Tamper: Avoid the plastic tampers that come in the box. Use a spring-loaded, self-leveling tamper (like the Force Tamper or Normcore V4) to ensure a perfectly flat, level bed of coffee every time.
- WDT Tool (Weiss Distribution Technique): A tool with 0.3mm to 0.4mm stainless steel needles breaks up clumps in the portafilter basket, eliminating channels and guaranteeing even water flow.
- Knock Box and Microfiber Cloths: Keep three dedicated cloths nearby: one for wiping the steam wand (keep it damp), one for wiping the portafilter basket dry, and one for wiping down the drip tray.
6. First-Time Start-Up and Dialing In
When powering on a brand-new machine for the first time, you must prime the pumps to fill the boilers before the heating elements activate. Running a heating element in a dry boiler will burn it out within seconds.
The Initial Start-Up Sequence
Fill the reservoir with formulated mineral water, turn the machine on, and immediately activate the group head or hot water tap until a steady stream of water flows. This confirms that the pump has successfully filled the boiler. Once filled, allow the machine to heat up fully. E61 group heads require at least 25 to 30 minutes for the heavy brass to reach thermal equilibrium, even if the PID display says the boiler is up to temperature.
Your Baseline Recipe
Start with a classic 1:2 extraction ratio as your baseline. Use 18 grams of freshly roasted coffee in your double basket, and aim for a yield of 36 grams of liquid espresso in your cup. Adjust your grinder so this extraction takes between 25 and 30 seconds from the moment you turn on the pump.
The Bottom Line
A successful home espresso machine setup relies on pairing a thoughtful physical layout with strict control over water chemistry and electrical power. Investing the time to position your workflow correctly, season your grinder, and feed your machine balanced water guarantees a reliable, clean, and delicious home brewing experience for years to come.
Frequently Asked Questions
Can I plug my espresso machine into an extension cord?
It is highly discouraged. Most consumer extension cords cannot safely handle the continuous 15-amp draw of an espresso machine boiler, creating a potential fire hazard. If absolutely necessary, use a heavy-duty, 12-gauge appliance-rated extension cord.
How often do I need to descaling my home espresso machine?
If you use properly mineral-balanced, non-scaling water, you may never need to descale. In fact, DIY descaling of dual-boiler machines can lead to loose scale clogging sensitive copper capillary tubes. Test your water hardness regularly to avoid scale buildup.
Why does the group head take so long to heat up when the boiler is hot?
Heavy brass group heads, especially the classic E61 design, rely on a thermosyphon system that circulates hot water from the boiler through the group head. This passive heating process takes 25 to 30 minutes to heat the heavy metal to stable brewing temperatures.


