
Key Takeaways
- Consistency is King: Eliminating micro-channels in the puck is the single most effective way to improve extraction yield and flavor.
- WDT is Non-Negotiable: Using a Weiss Distribution Technique tool with 0.3mm to 0.35mm needles breaks up clumps and homogenizes the coffee bed.
- Tamp to Full Compression: You cannot over-tamp by hand; always tamp until the coffee bed resists completely to ensure a level, solid surface.
- Keep it Dry: A wet portafilter basket guarantees uneven extraction before you even start grinding.
Mastering the perfect espresso puck prep technique steps involves a precise sequence of drying, dosing, distributing, and tamping to ensure even water flow through the coffee bed. While your machine and grinder set your ceiling, your puck prep determines whether you actually reach it. By refining these physical variables, you can eliminate channeling and extract the sweet, complex flavors locked inside your specialty beans.
Step 1: Basket Prep and the Dry Clean
Excellent puck prep begins with a completely clean slate. Any moisture or residual coffee oils left in your portafilter basket will create paths of least resistance for the pressurized water.
The Golden Rule of Dryness
Before dosing your coffee, wipe the inside of your portafilter basket with a clean, dry microfiber cloth. If the basket is damp, the dry coffee grounds will stick to the walls, creating a high-density ring around the perimeter and a lower-density center, which invites severe edge channeling.
Thermal Stability
While the basket must be dry, it should also be hot. Keep your portafilter locked into the group head of your machine until the moment you are ready to prep your shot. A cold basket saps heat from the brewing water, destabilizing your extraction temperature.
Step 2: Dosing and the RDT Technique
Accurate dosing is the foundation of recipe replication. For modern home setups, single-dosing has become the standard for keeping beans fresh and minimizing grind retention.
The Ross Droplet Technique (RDT)
Static electricity is the enemy of a clean espresso workflow, causing grounds to fly wild and cling to your grinder's chute. To combat this, use a small spray bottle to spritz your single dose of beans with a single mist of water (roughly 0.1 grams) before grinding. Shake the dosing cup to distribute the moisture evenly.
Precision Weighing
Use a scale accurate to 0.1 grams to weigh your dose before and after grinding. If you dose 18.0 grams of coffee into your grinder, you should receive exactly 18.0 grams in your basket. If your grinder retains more than 0.2 grams, purge a small amount of coffee before grinding your shot.
Step 3: Deep Weiss Distribution Technique (WDT)
If you only adopt one tool to improve your espresso quality, make it a dedicated WDT tool. This step breaks up micro-clumps and ensures the density of the coffee bed is completely uniform.
Choosing the Right Tool
Avoid thick, blunt distribution tools or toothpicks, which actually push coffee around and create larger voids. Opt for a WDT tool featuring stainless steel needles between 0.3mm and 0.35mm in thickness. Brands like the Levercraft Ultra-Fine WDT or the AppaTech tool are excellent choices.
The Two-Phase WDT Method
- Deep WDT: Insert the needles all the way to the bottom of the basket. Move the tool in small, concentric circles, starting from the center and working outward to homogenize the entire depth of the bed.
- Shallow WDT: Slowly raise the tool and use very gentle, swirling motions on the top 5mm of the coffee bed to create a perfectly flat, level surface.
A perfectly distributed coffee bed will always yield a sweeter, more balanced extraction than one subjected to brute-force tamping alone.
Step 4: Mechanical Distribution (The Optional Step)
Many home baristas use wedge-style spin distributors to flatten the coffee bed before tamping. However, modern testing has shifted the consensus on these tools.
Wedge Distributors vs. WDT
While wedge distributors make the surface of the coffee look pristine, they often compress the top 2mm of the bed while leaving the bottom loose and uneven. If you use a wedge distributor, set its depth to the shallowest possible setting just to level the surface, or rely solely on a quality WDT tool and a gentle tap of the portafilter on your tamping mat.

Step 5: Precision Level Tamping
Tamping removes the air pockets between the coffee grounds, forcing the water to flow evenly through the entire puck. Modern espresso theory has dispelled several old myths about tamping pressure.
Forget the 30-Pound Myth
You do not need to hit a magic number like 30 pounds of pressure. Once the air is squeezed out of the coffee bed, the grounds cannot be compressed any further. Tamp until the coffee bed completely resists your hand, ensuring you have achieved maximum compaction.
The Importance of a Level Tamp
A crooked tamp is a primary cause of uneven extraction. If one side of the puck is thinner than the other, water will rush through the path of least resistance. Use a self-leveling, spring-loaded tamper like the Normcore V4 or the Pullman BigStep to guarantee a perfectly horizontal press every single time.
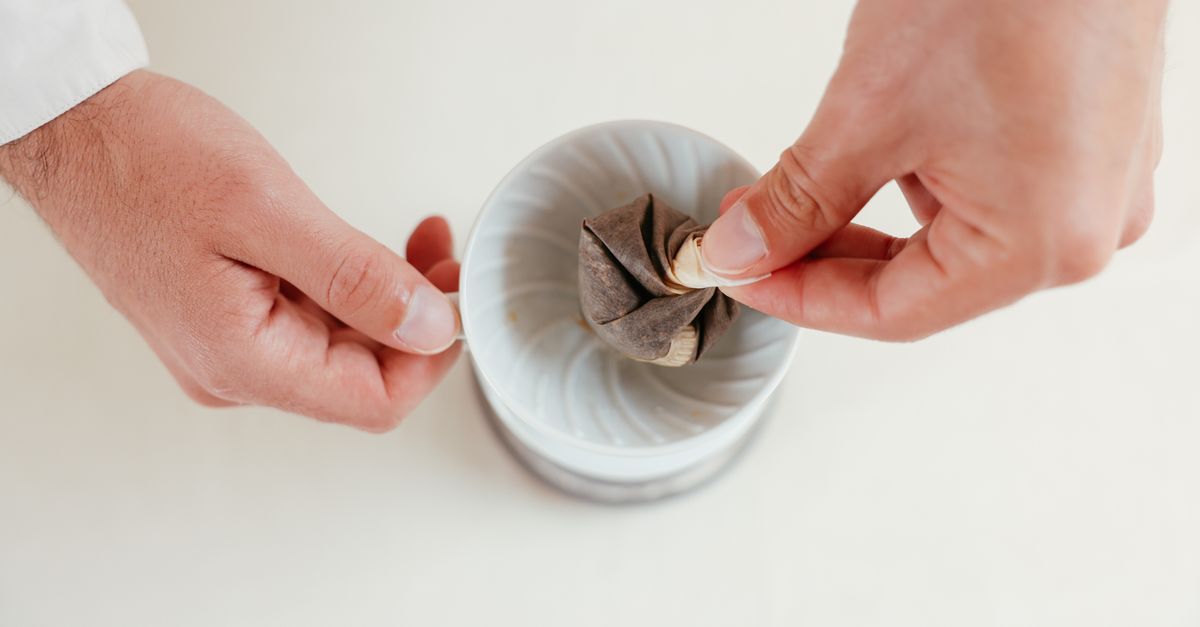
Step 6: The Puck Screen and Locking In
The final step before brewing protects your machine and ensures even water distribution from the shower screen.
Why Use a Puck Screen?
A metal puck screen (typically 150-micron mesh) placed directly on top of your tamped coffee bed offers two major benefits:
- It diffuses the incoming water from the group head, preventing the high-pressure stream from drilling a hole in your puck.
- It keeps your group head shower screen completely clean, preventing coffee oils and loose grounds from being sucked back into the three-way solenoid valve.
The Soft Lock
Insert your prepared portafilter gently into the group head. Avoid slamming or shaking the portafilter during this step, as sudden impacts can crack the compacted puck or break its seal against the basket wall, leading to severe edge channeling during extraction.

The Bottom Line
By executing these six puck prep steps consistently, you eliminate the variables that cause sour, bitter, and unpredictable espresso shots. Dedicate your attention to a dry basket, thorough WDT, and a level tamp to unlock the true potential of your home setup.
Frequently Asked Questions
Can I skip WDT if my grinder has no clumps?
No. Even if your grinds look fluffy, invisible density variations exist within the basket. WDT is necessary to homogenize the bed and ensure even water flow.
Why does my espresso channel even after careful puck prep?
If your prep is flawless, the issue is likely your grind size (too fine, causing the pump to choke and channel) or using stale coffee beans that lack the structure to hold a puck together.
Do I need to wash my puck screen after every shot?
Yes. Give it a quick rinse under the group head or tap water immediately after knocking out the puck. Periodically soak it in a backflush detergent like Cafiza to dissolve stubborn coffee oils.


